- CCT Public Page
- [CCT Members Area]
Overview
Content Tools

|
http://www.thesarvo.com is licensed under a
Creative Commons Attribution-Share Alike 2.5 Australia License.
For more details see http://www.thesarvo.com/confluence/display/thesarvo/Copyright |
3 Comments
Domhnall Brannigan
Anyone aware of changes in access? The iron gate is now replaced by a large wooden fence with an unambiguous sign barring access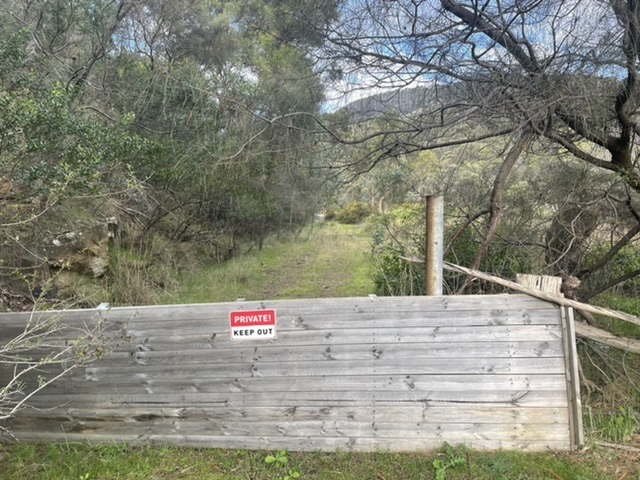
Hamish Jackson
hmm tricky. Poha and Snatch are really good fun. A few years back I tried to convince my dad to let me place one bolt where he had used a piton on Poha - he wasn't super keen. We don't really have a crag steward assigned for this one, and while I have visited this cliff since my childhood in the late 70s (Marcel and I were having a great time playing with Poha fire crackers the day that route was led) - it has not been the sort of place to meet a landowner.
Private land tenure is almost always hard for us - even if climbing has been happening there for over 40 years. I'll start an email trail with the crew who are looking into Rocky Tom in the hope that crew (including some Hobart climbing guides) might know more. At a minimum we will attempt contact the landowner and negiotiate, as flying under the radar is not an option now that sign is up. Fortunately mad monkey is a recreation reserve, although obviously the traditional access is via this gully track. This closure also affects some bouldering in that gully.
Hamish Jackson