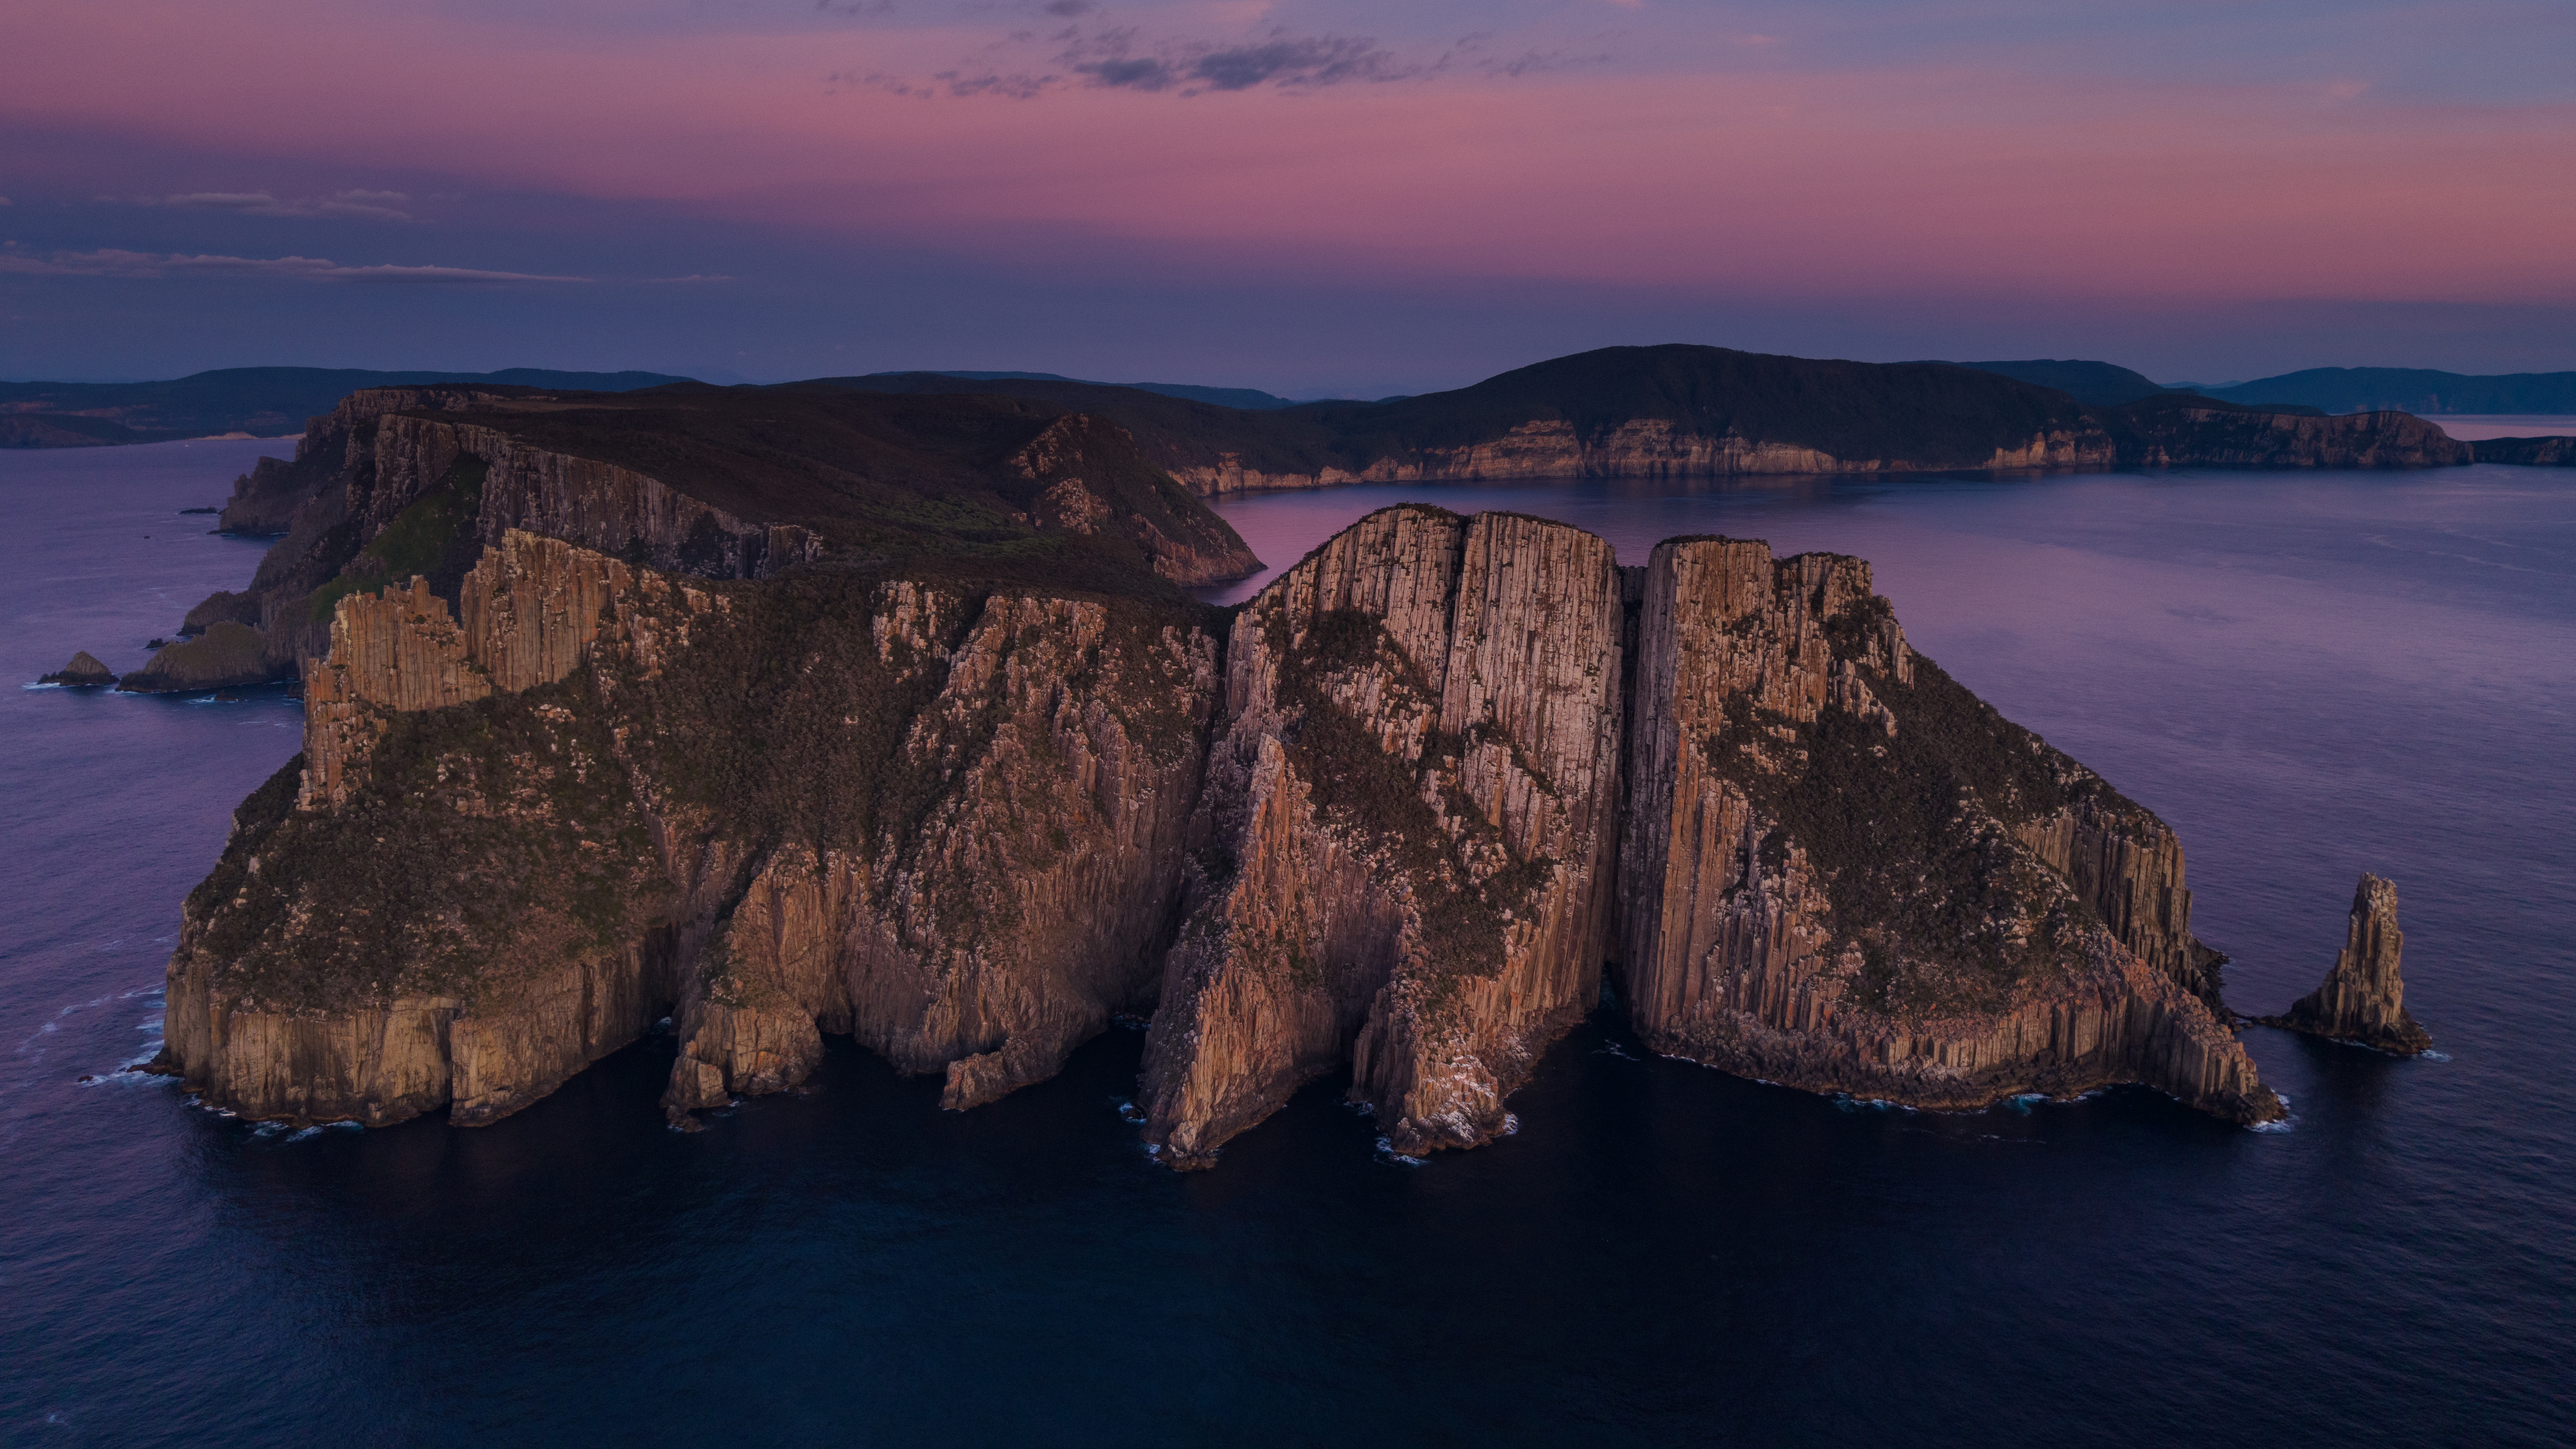
Cape Pillar
(Photos from a sea kayaking trip out to Cape Pillar Feb 2025)
Region : Tasman Peninsula
Length: Long
Difficulty: Very High
Climbing quality: Medium
Overall quality: 3 stars
Late Feb 2024
Benny Plunkett (Unsupported)
------------------------------------------------------------------------------------------------------------------------------------------------------------------------------------------------------------------------------------------------------------------------
Two years it's taken me to pull my finger out and write a report on one of the best days of my life. I haven't wanted to half-ass the report as this isn't the kind of traverse that should be taken lightly. I'd recommend seeing how you go on either Chasm Creek to Deep Glen Bay or Deep Glen Bay to Eaglehawk.
Forecast on BOM was 1m of S swell, increasing to 1.5m of S swell throughout the day. Light winds. Knowing what I now know, I would probably wait for a forecast with a little less S swell in it.

Image 1 - Cape Pillar
I left Fortescue bay at 4am with a 12L trail running vest equipped with the essentials. Approximately 100m before reaching the end of the Cape Pillar track I left the trail and took the climbers access directly down to the sea. Veer ever so slightly right down the faint and sometimes non-existent track. I crossed the sea bridge and scaled part the way up Cathedral Rock where the traverse begins. The occasional set wave would completely cover the bridge across to Cathedral Rock. Just because it's calm at Cathedral Rock, doesn't mean it'll be calm around the corner. Especially if there is a S swell.
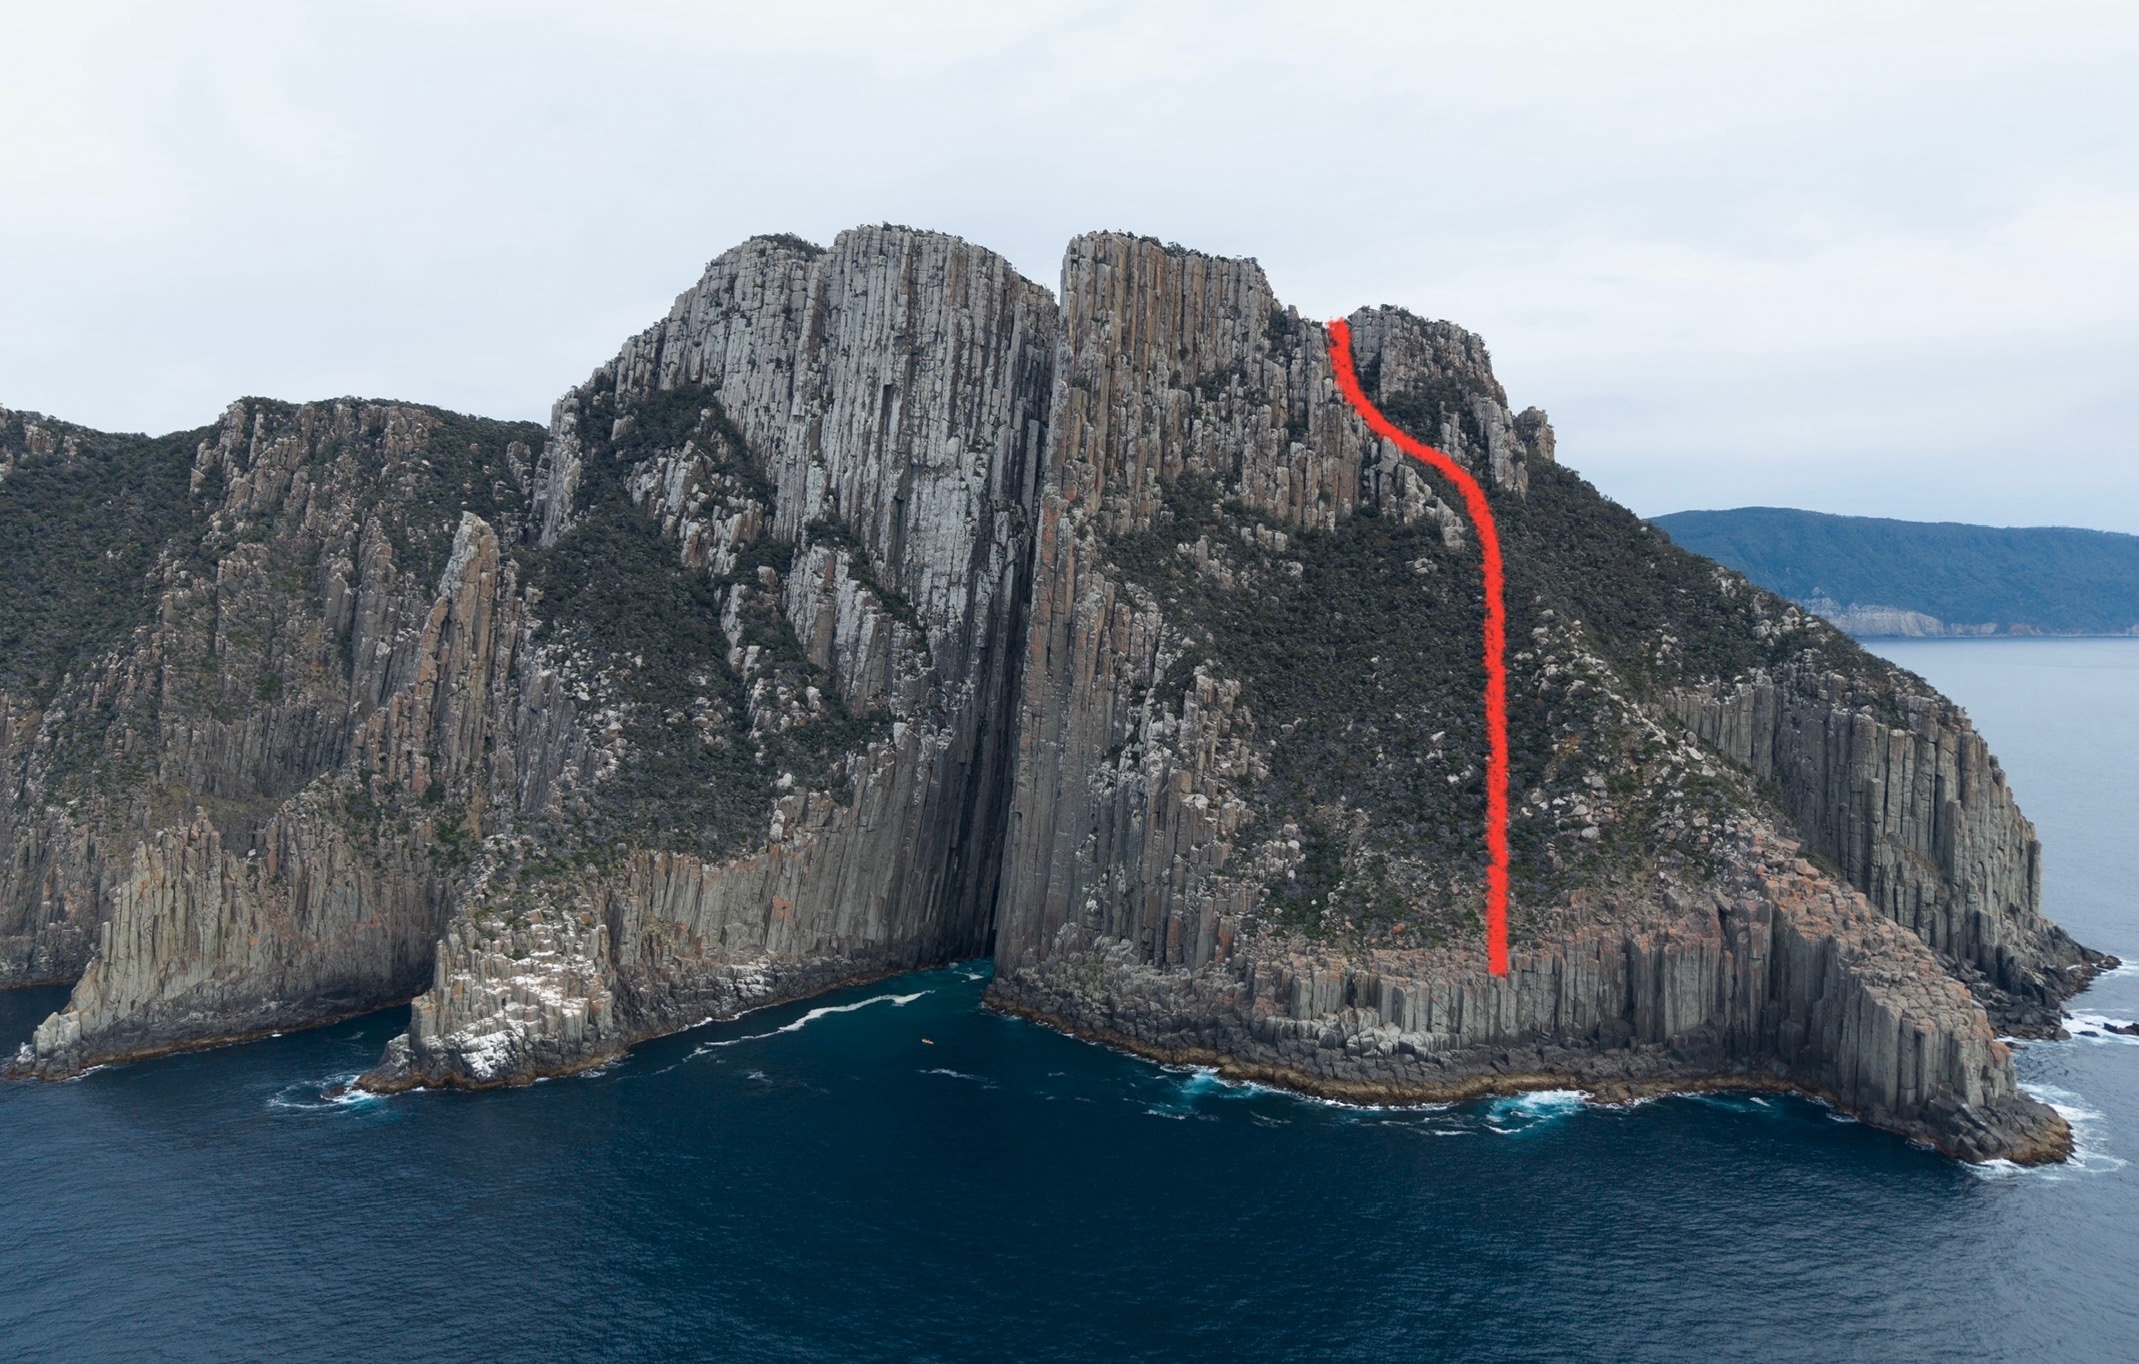
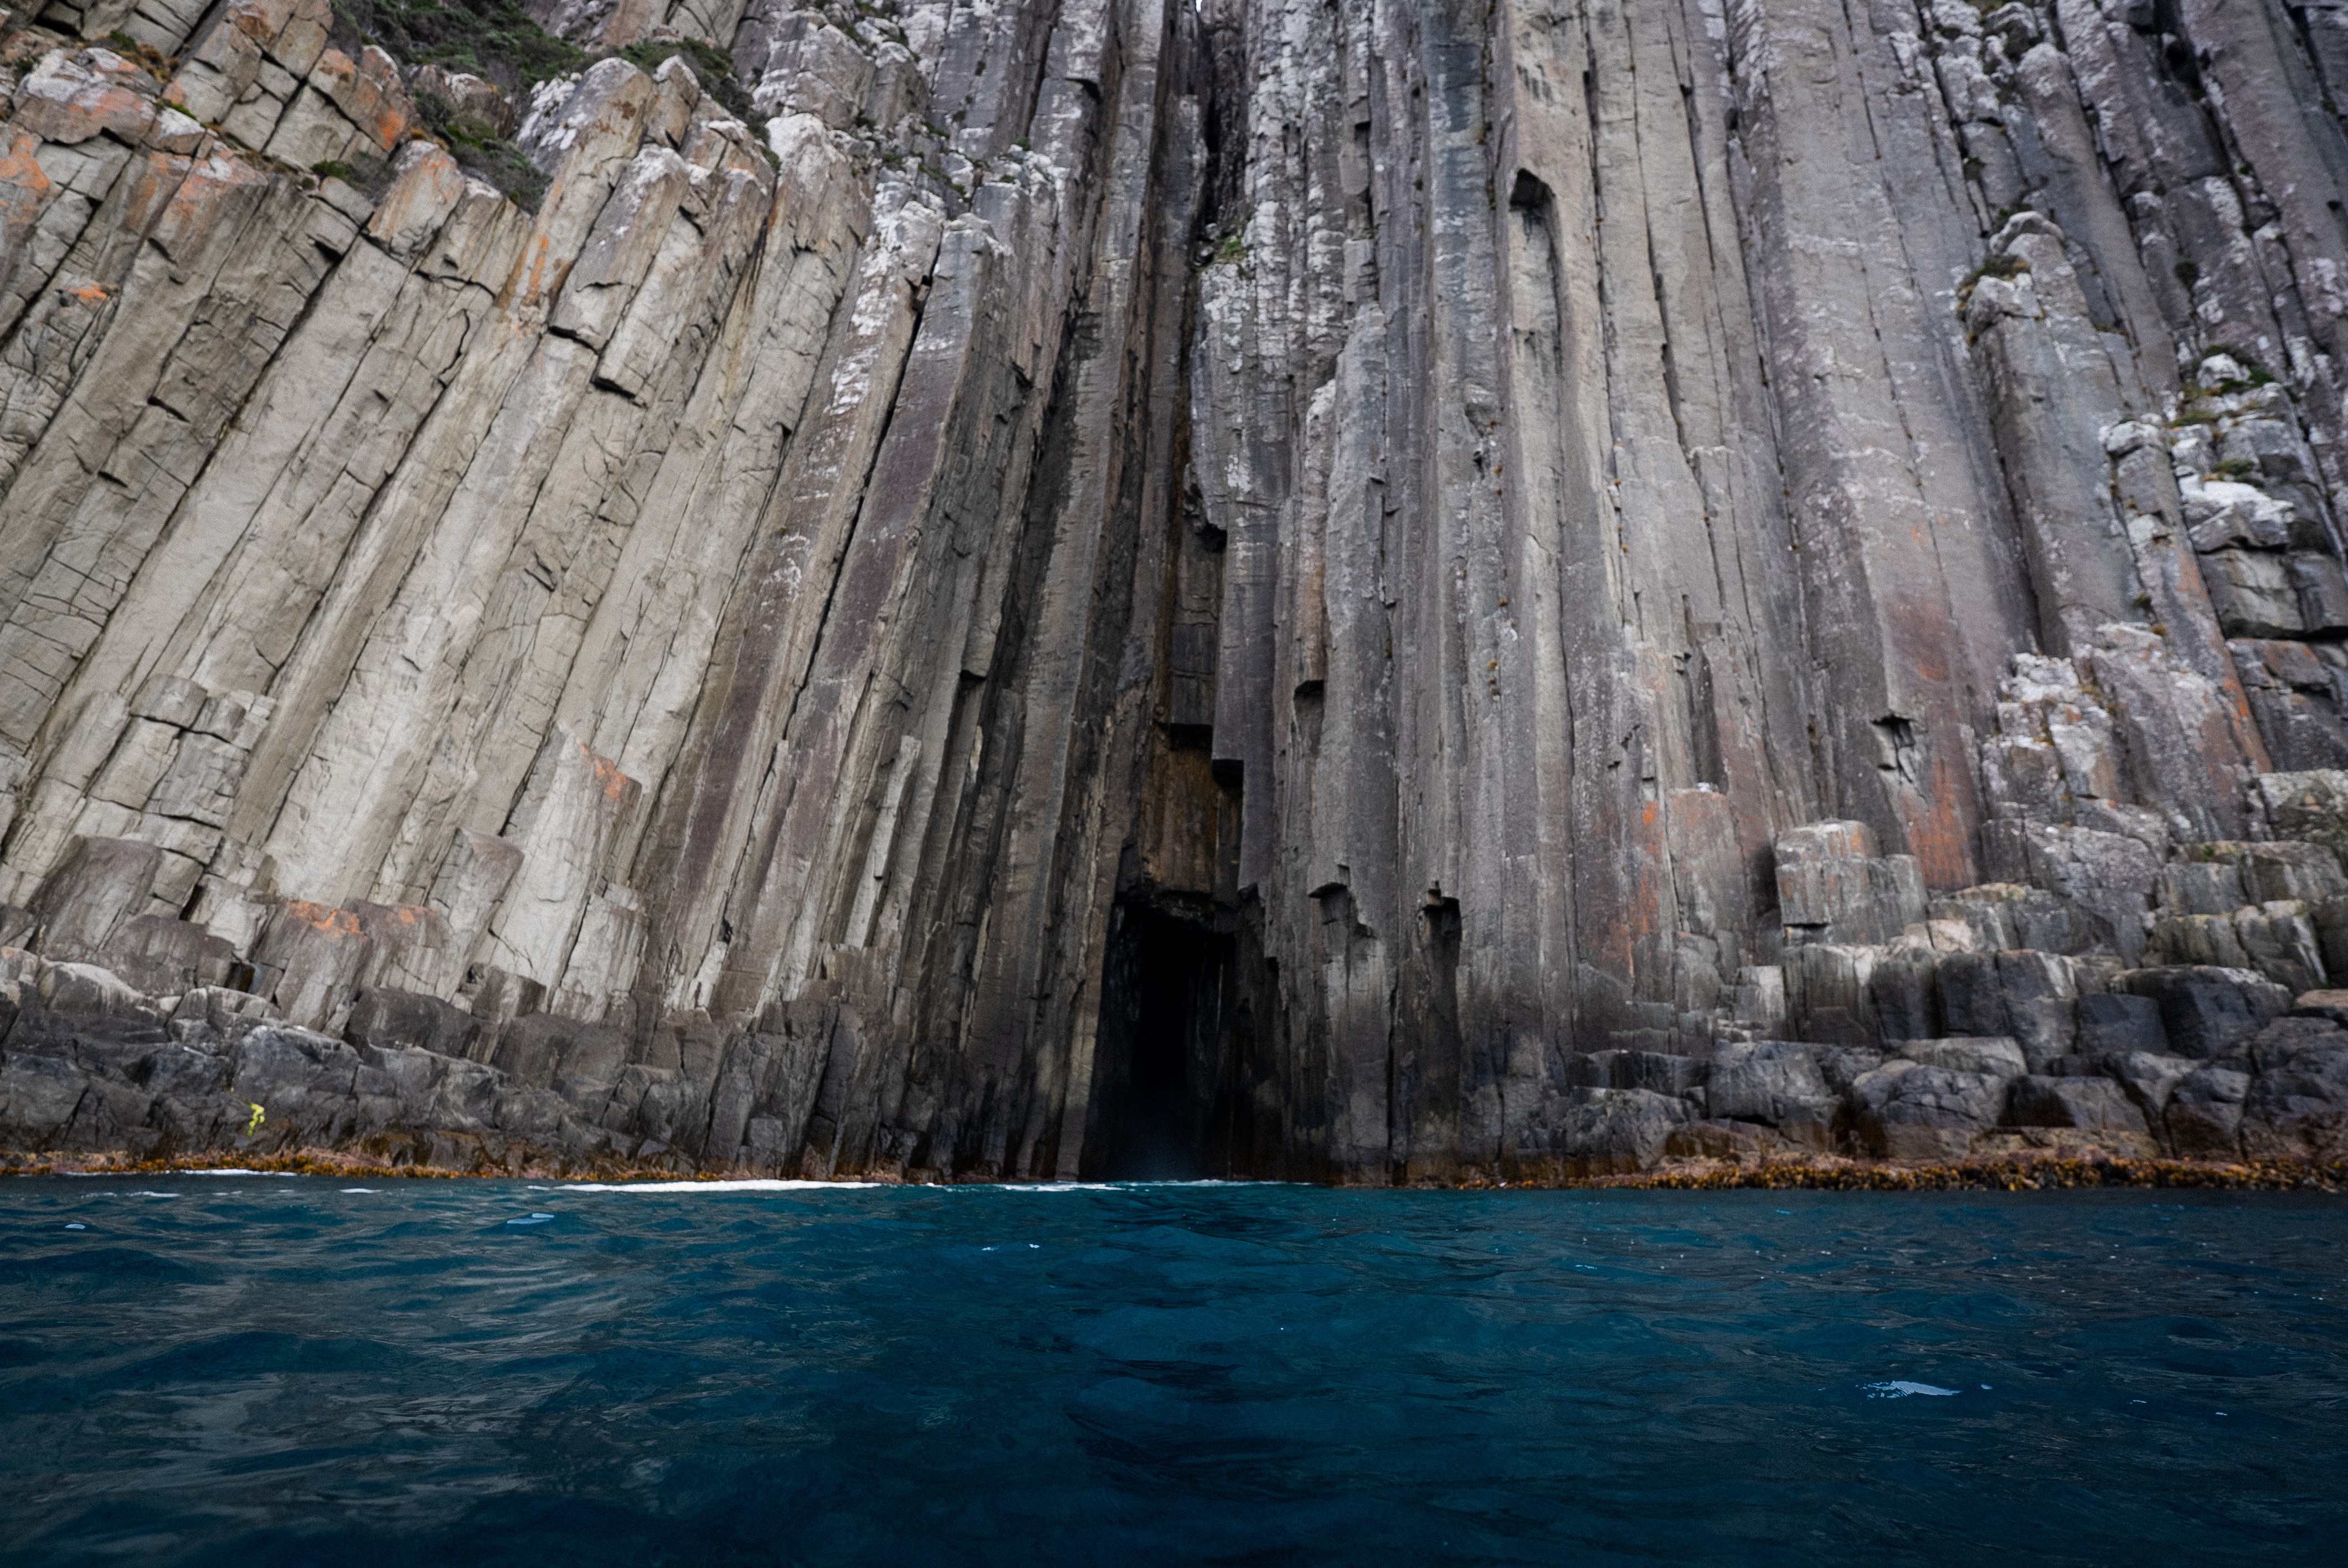
Image 2 - Access track Image 3 - The Chasm
There's a bloody pissa of a cliff jump to kick things off. I burst my ear drum 10 days earlier from cliff jumping so I was content with skipping the 20m+ cliff jump right around the corner from Cathedral Rock. (Seen in bottom right corner of Image 2)
Gee there's some potential for some wicked DWS lines beneath the Chasm and throughout much of the traverse. It's a shame that it is very blank at times but that's just the nature of traversing around Tassie caves. Swimming beneath the Chasm solo was something else. Less sustained climbing as Chasm Creek to Deep Glen Bay but there is no shortage of nice dolerite to fondle with down there.
Without giving too much away.. The terrain is surprisingly manageable along much of the coastline. Don't get me wrong, it's far from easy going and you can bet your ass you're going to be getting wet. I swam approx 9-10 times. Many of the swims are relatively short but there were 2 that were over 100m.
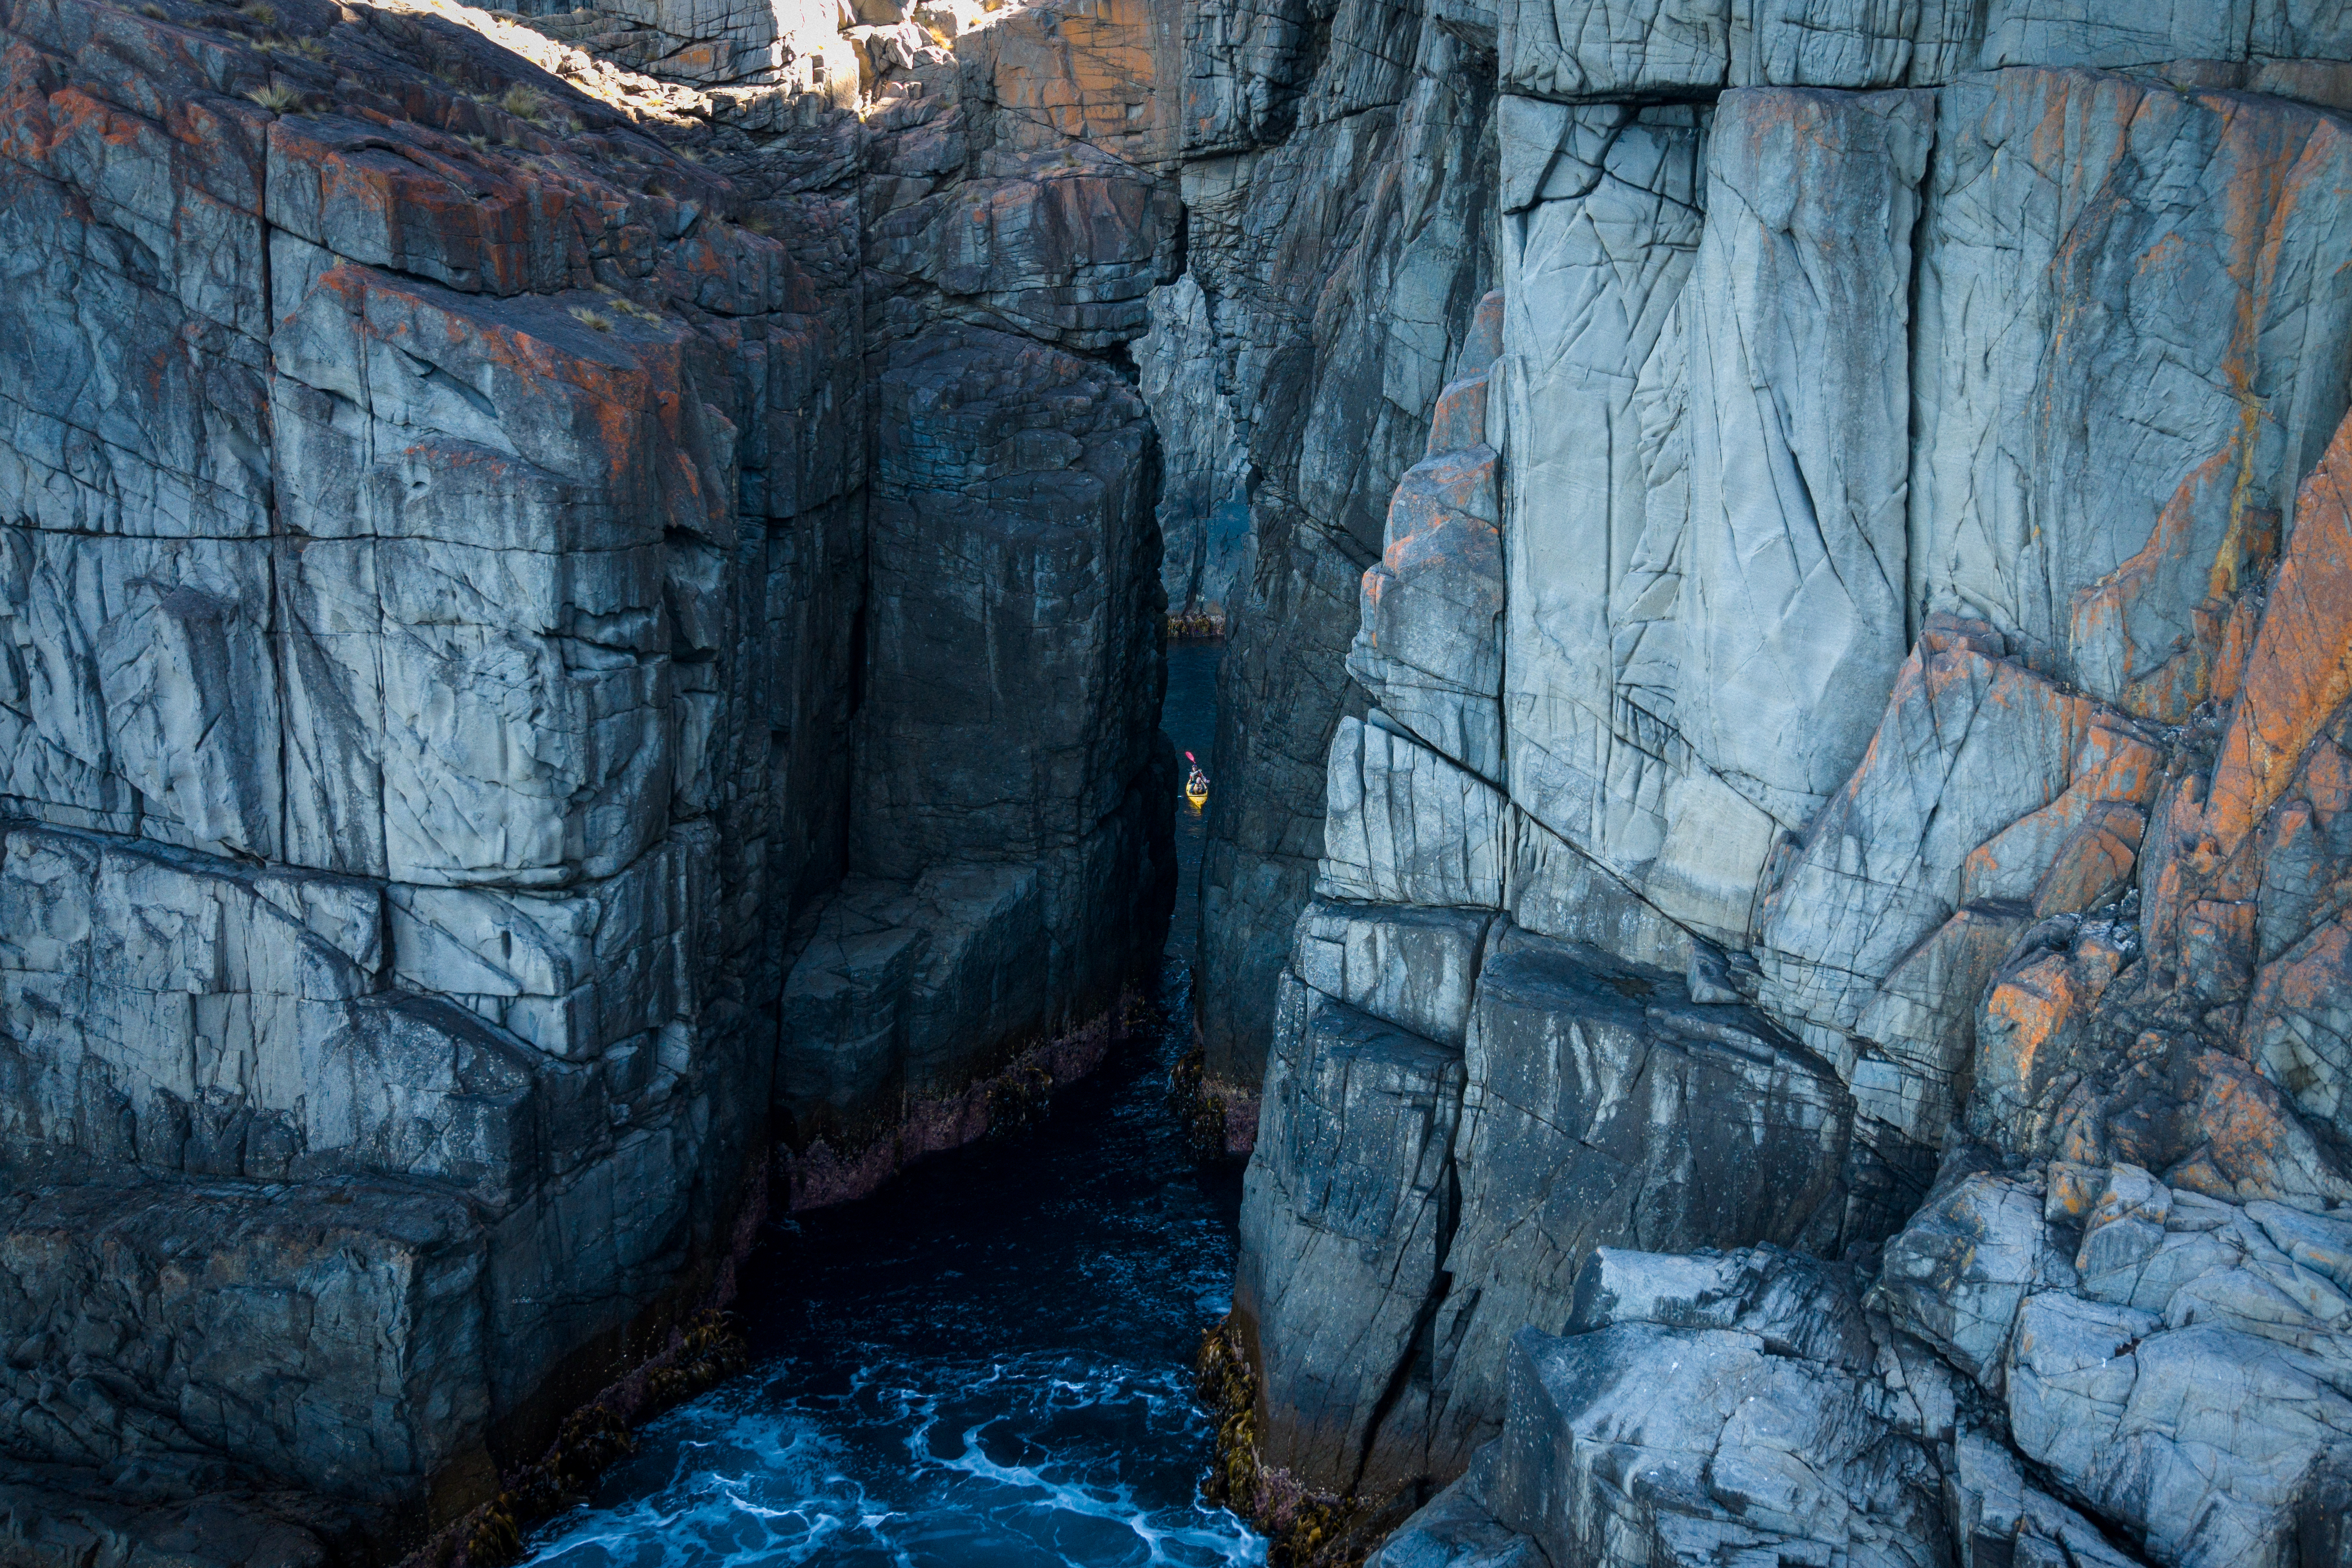
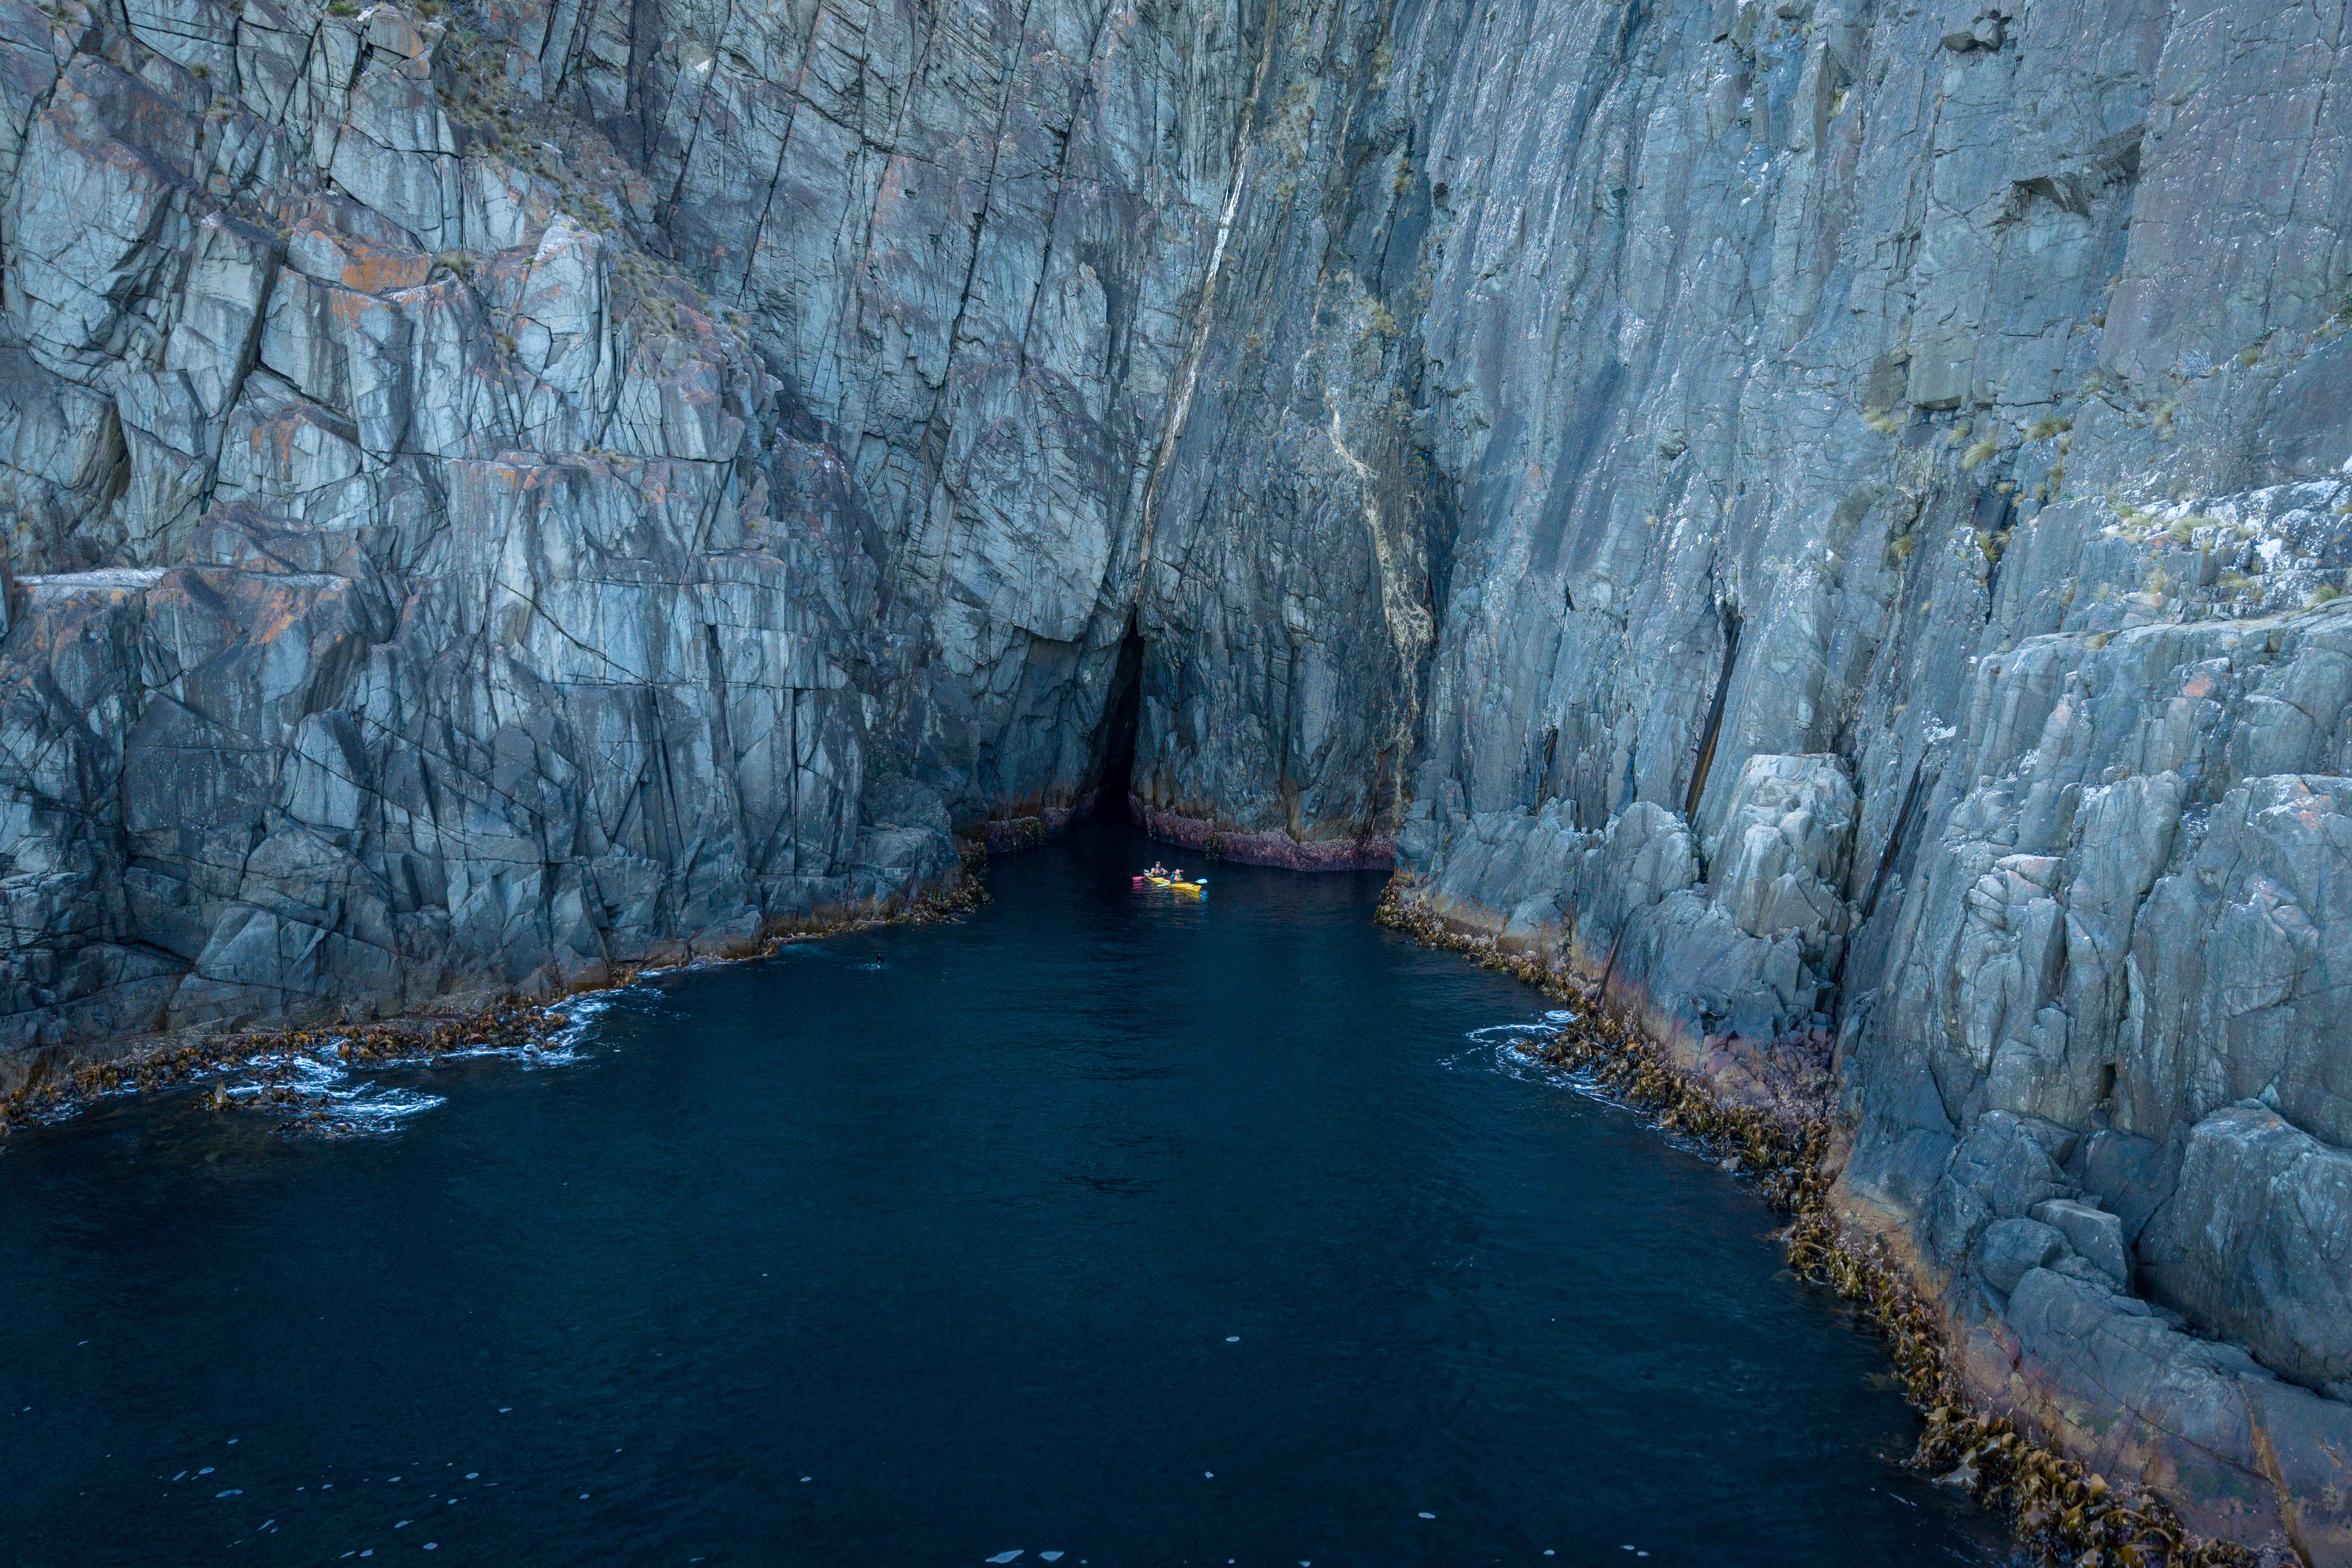
Image 4 - Archway Image 5 - One of many stunning coves
Around the halfway point there is a 15-20m high archway that I tried to climb through. The traverse leading up to it was very enjoyable. I snapped a hold part the way through the archway and was able to pierce the gap without hitting the walls. It definitely goes!
Seals inhabit much of the Cape Pillar coastline. I had my head on a swivel for much of the traverse as they tend to climb up a lot higher than you'd expect and they get easily frightened when awoken from there slumber. Tread carefully as I can picture someone slipping after getting staunched by a seal. Sometimes I'll take goggles with me and it really is the best way to interact with the puppy dogs of the sea.
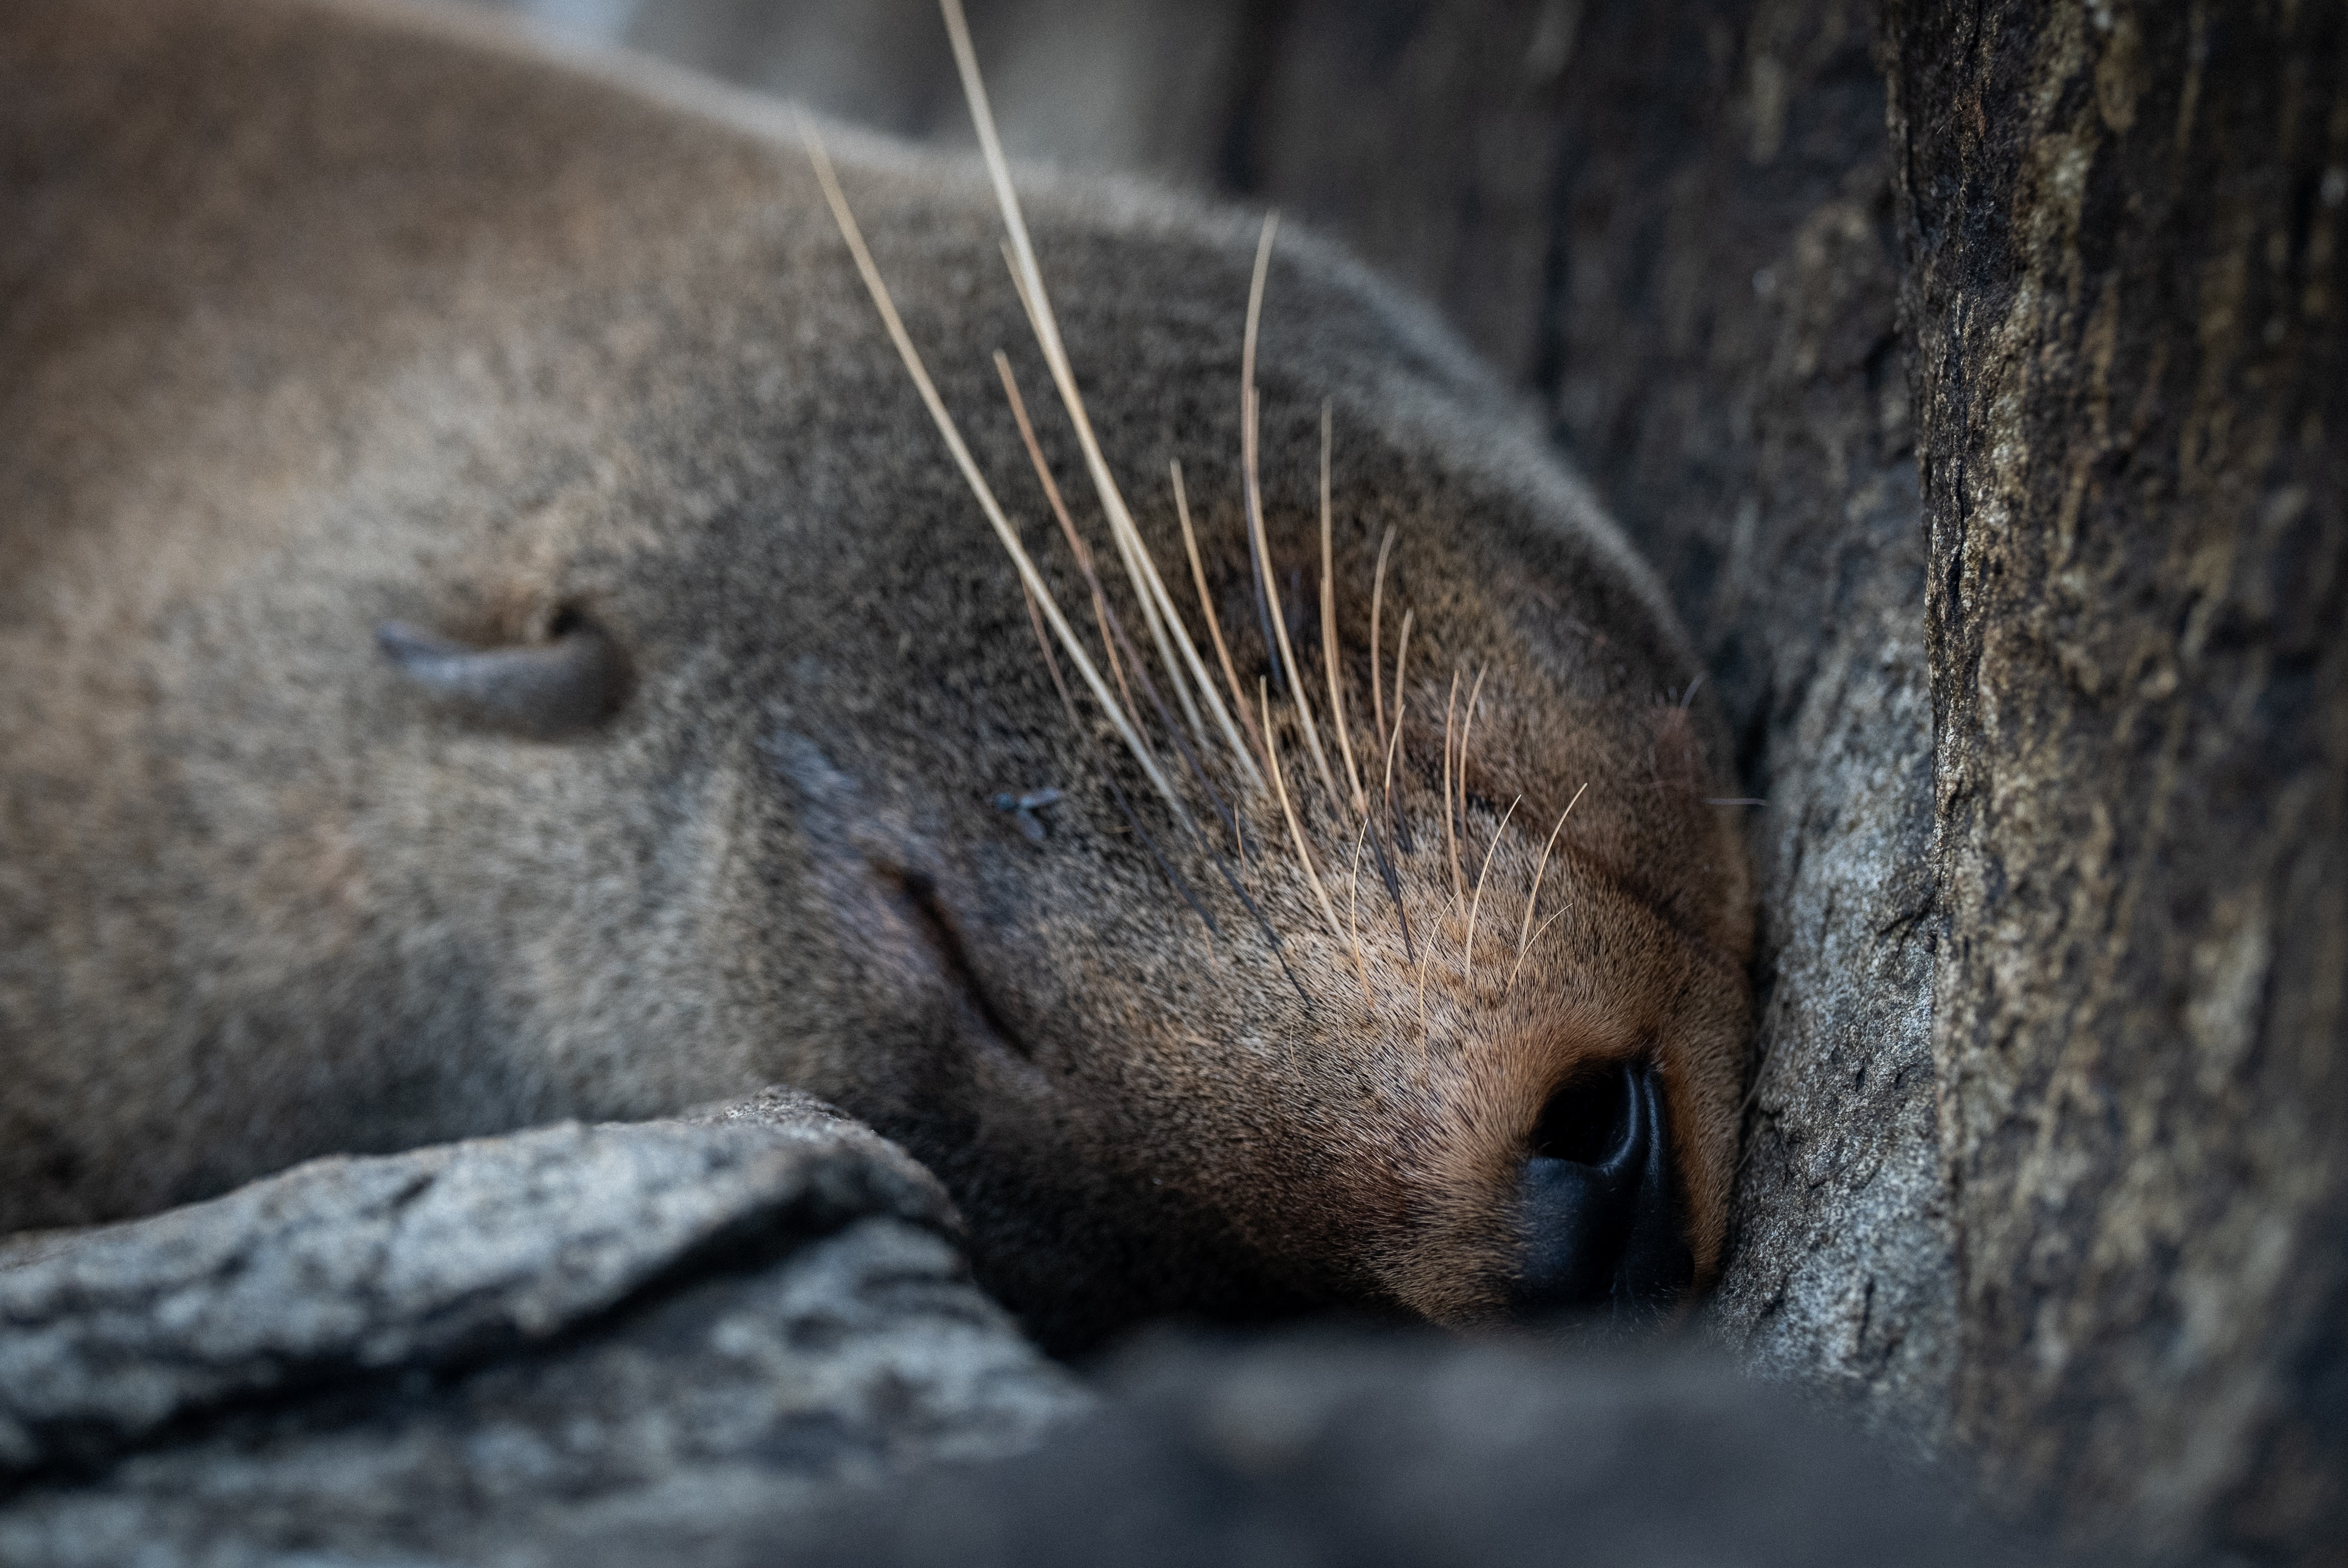
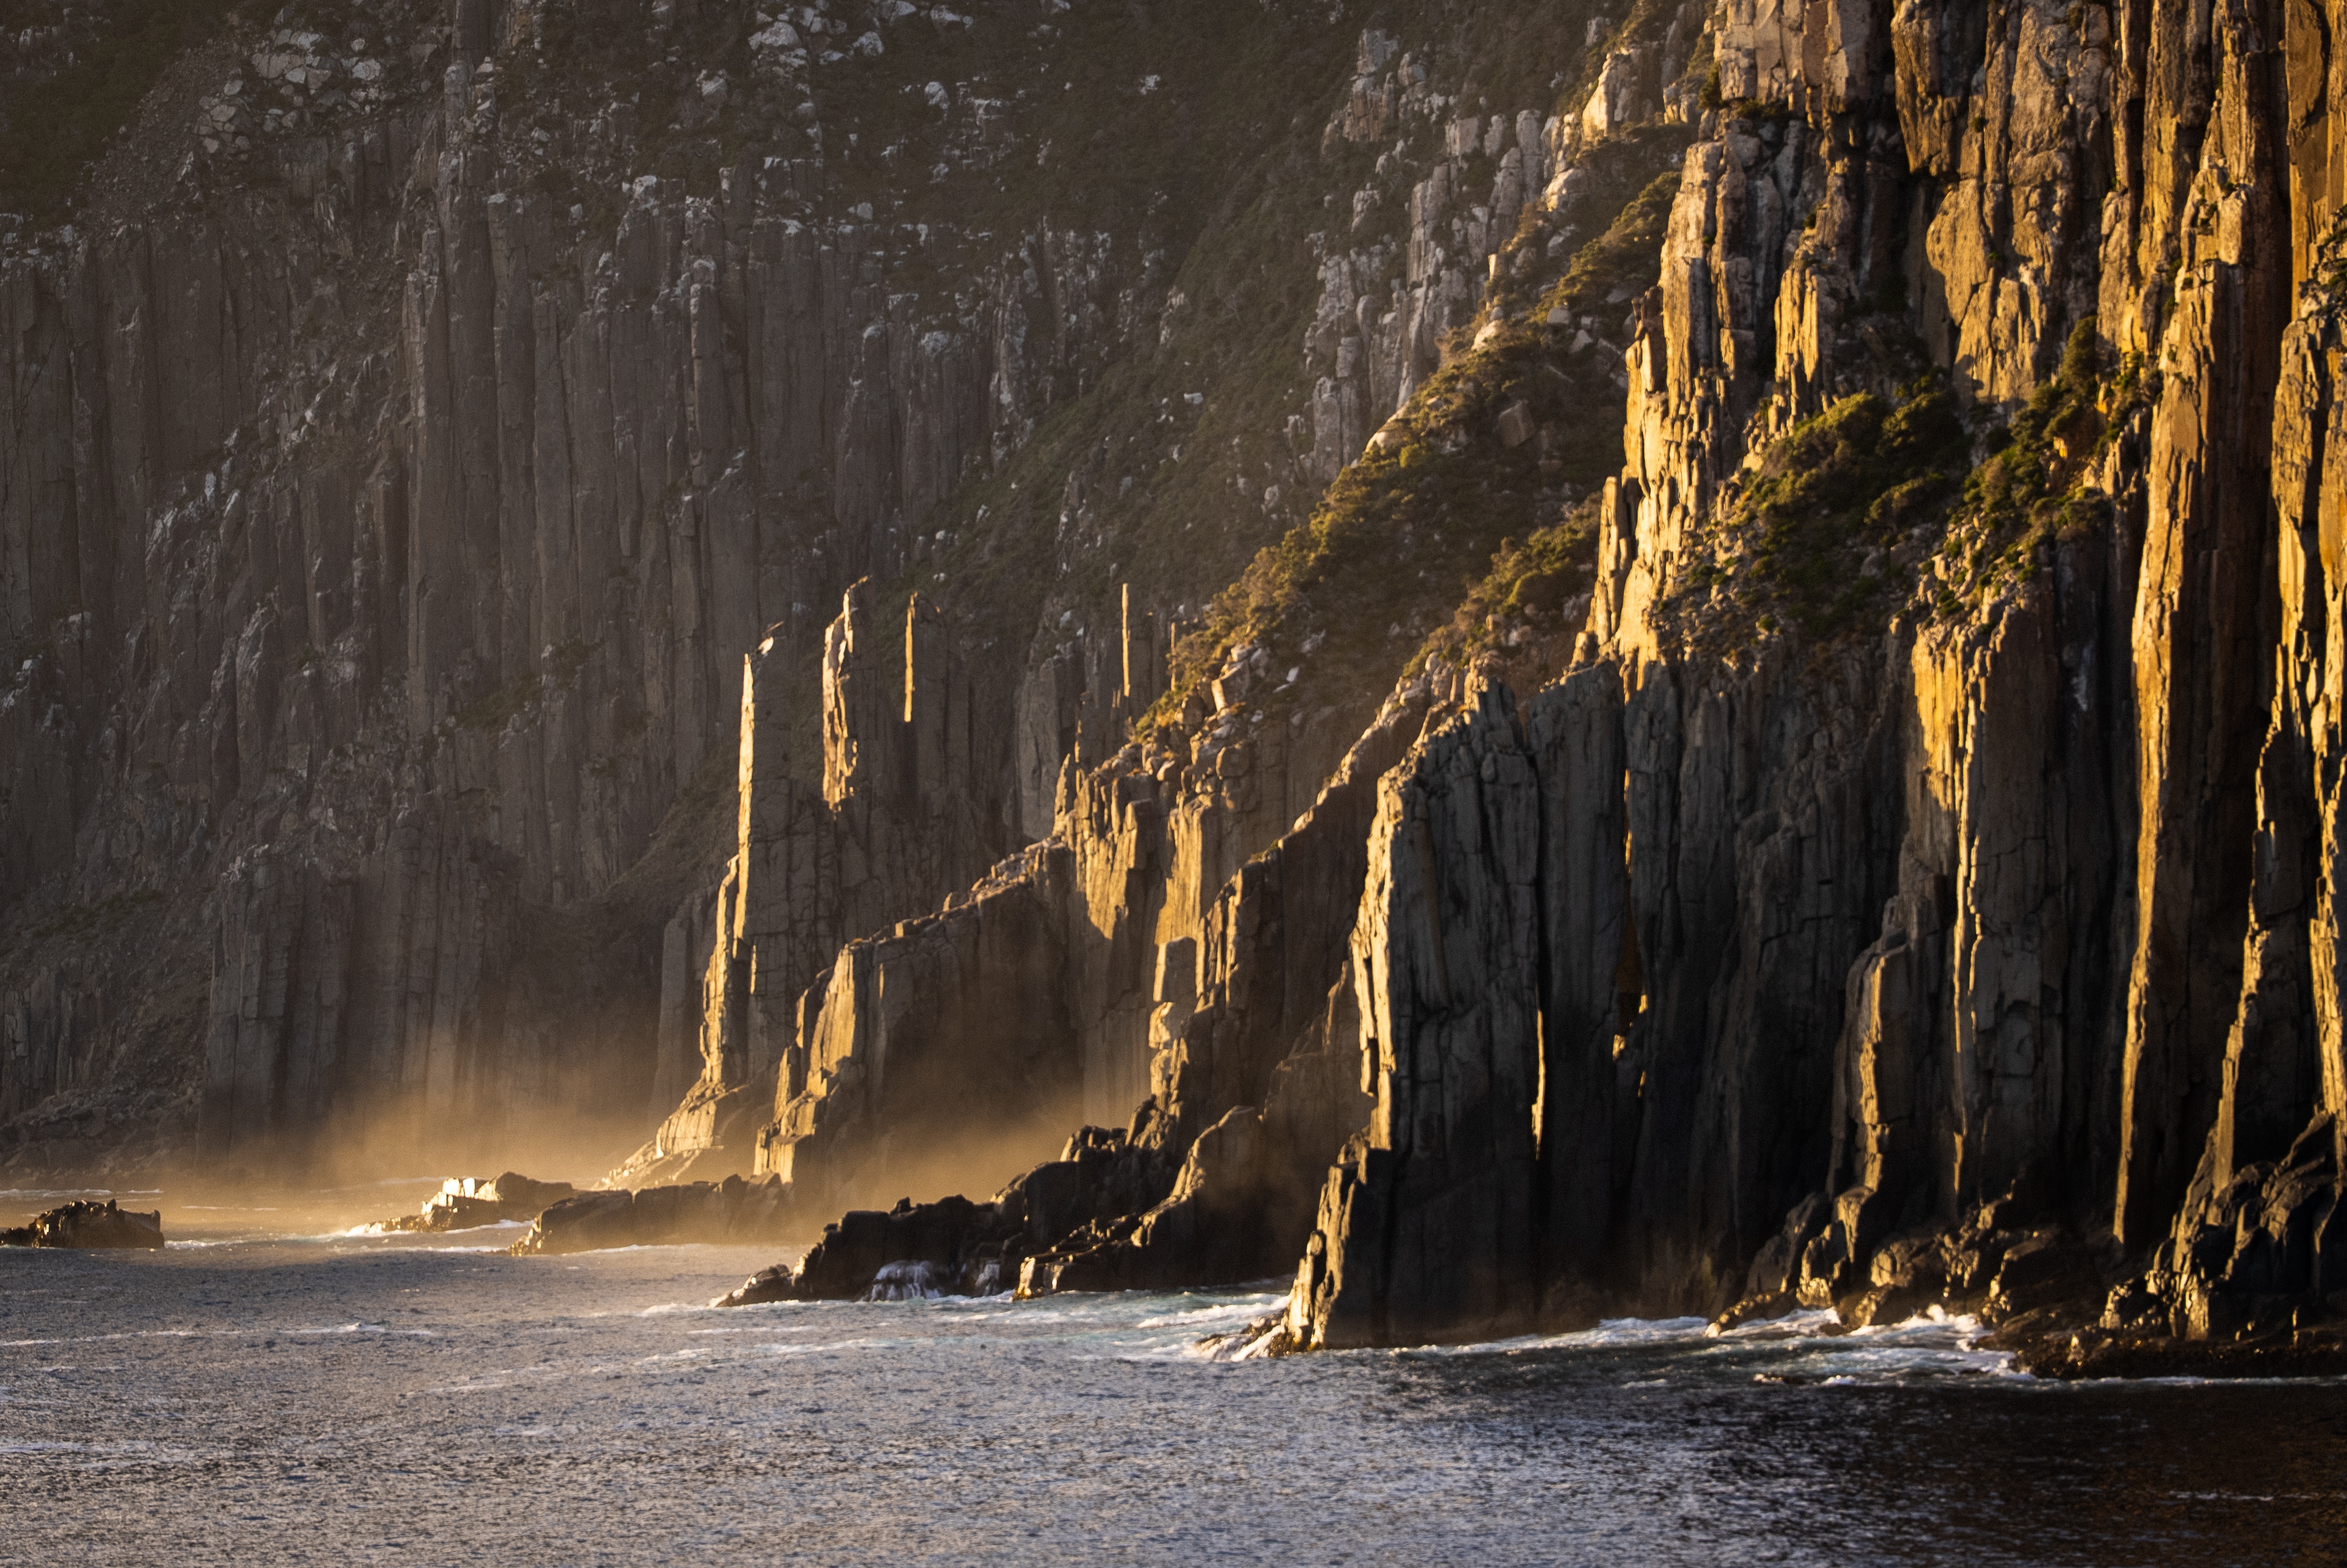
Image 6 - Sleeping Seal Image 7 - Committing swim
As seen in Image 7, there is a 100-150m swim that begins near the bottom right of the image and ends near the middle of the image. This was a tad nerve wracking as you can't see where to get out. Trust the process and rest for a moment before taking the plunge. I really noticed the swell increasing as I wrapped around to the closest bit of coastline to Tasman Island. I spotted a ledge, caught my breath and let the surge lift me up to the highest kelp I could reach and I hung on while a leg-breaking ledge revealed itself 3m below. It wasn't pretty but the strength of the kelp never ceases to amaze me.
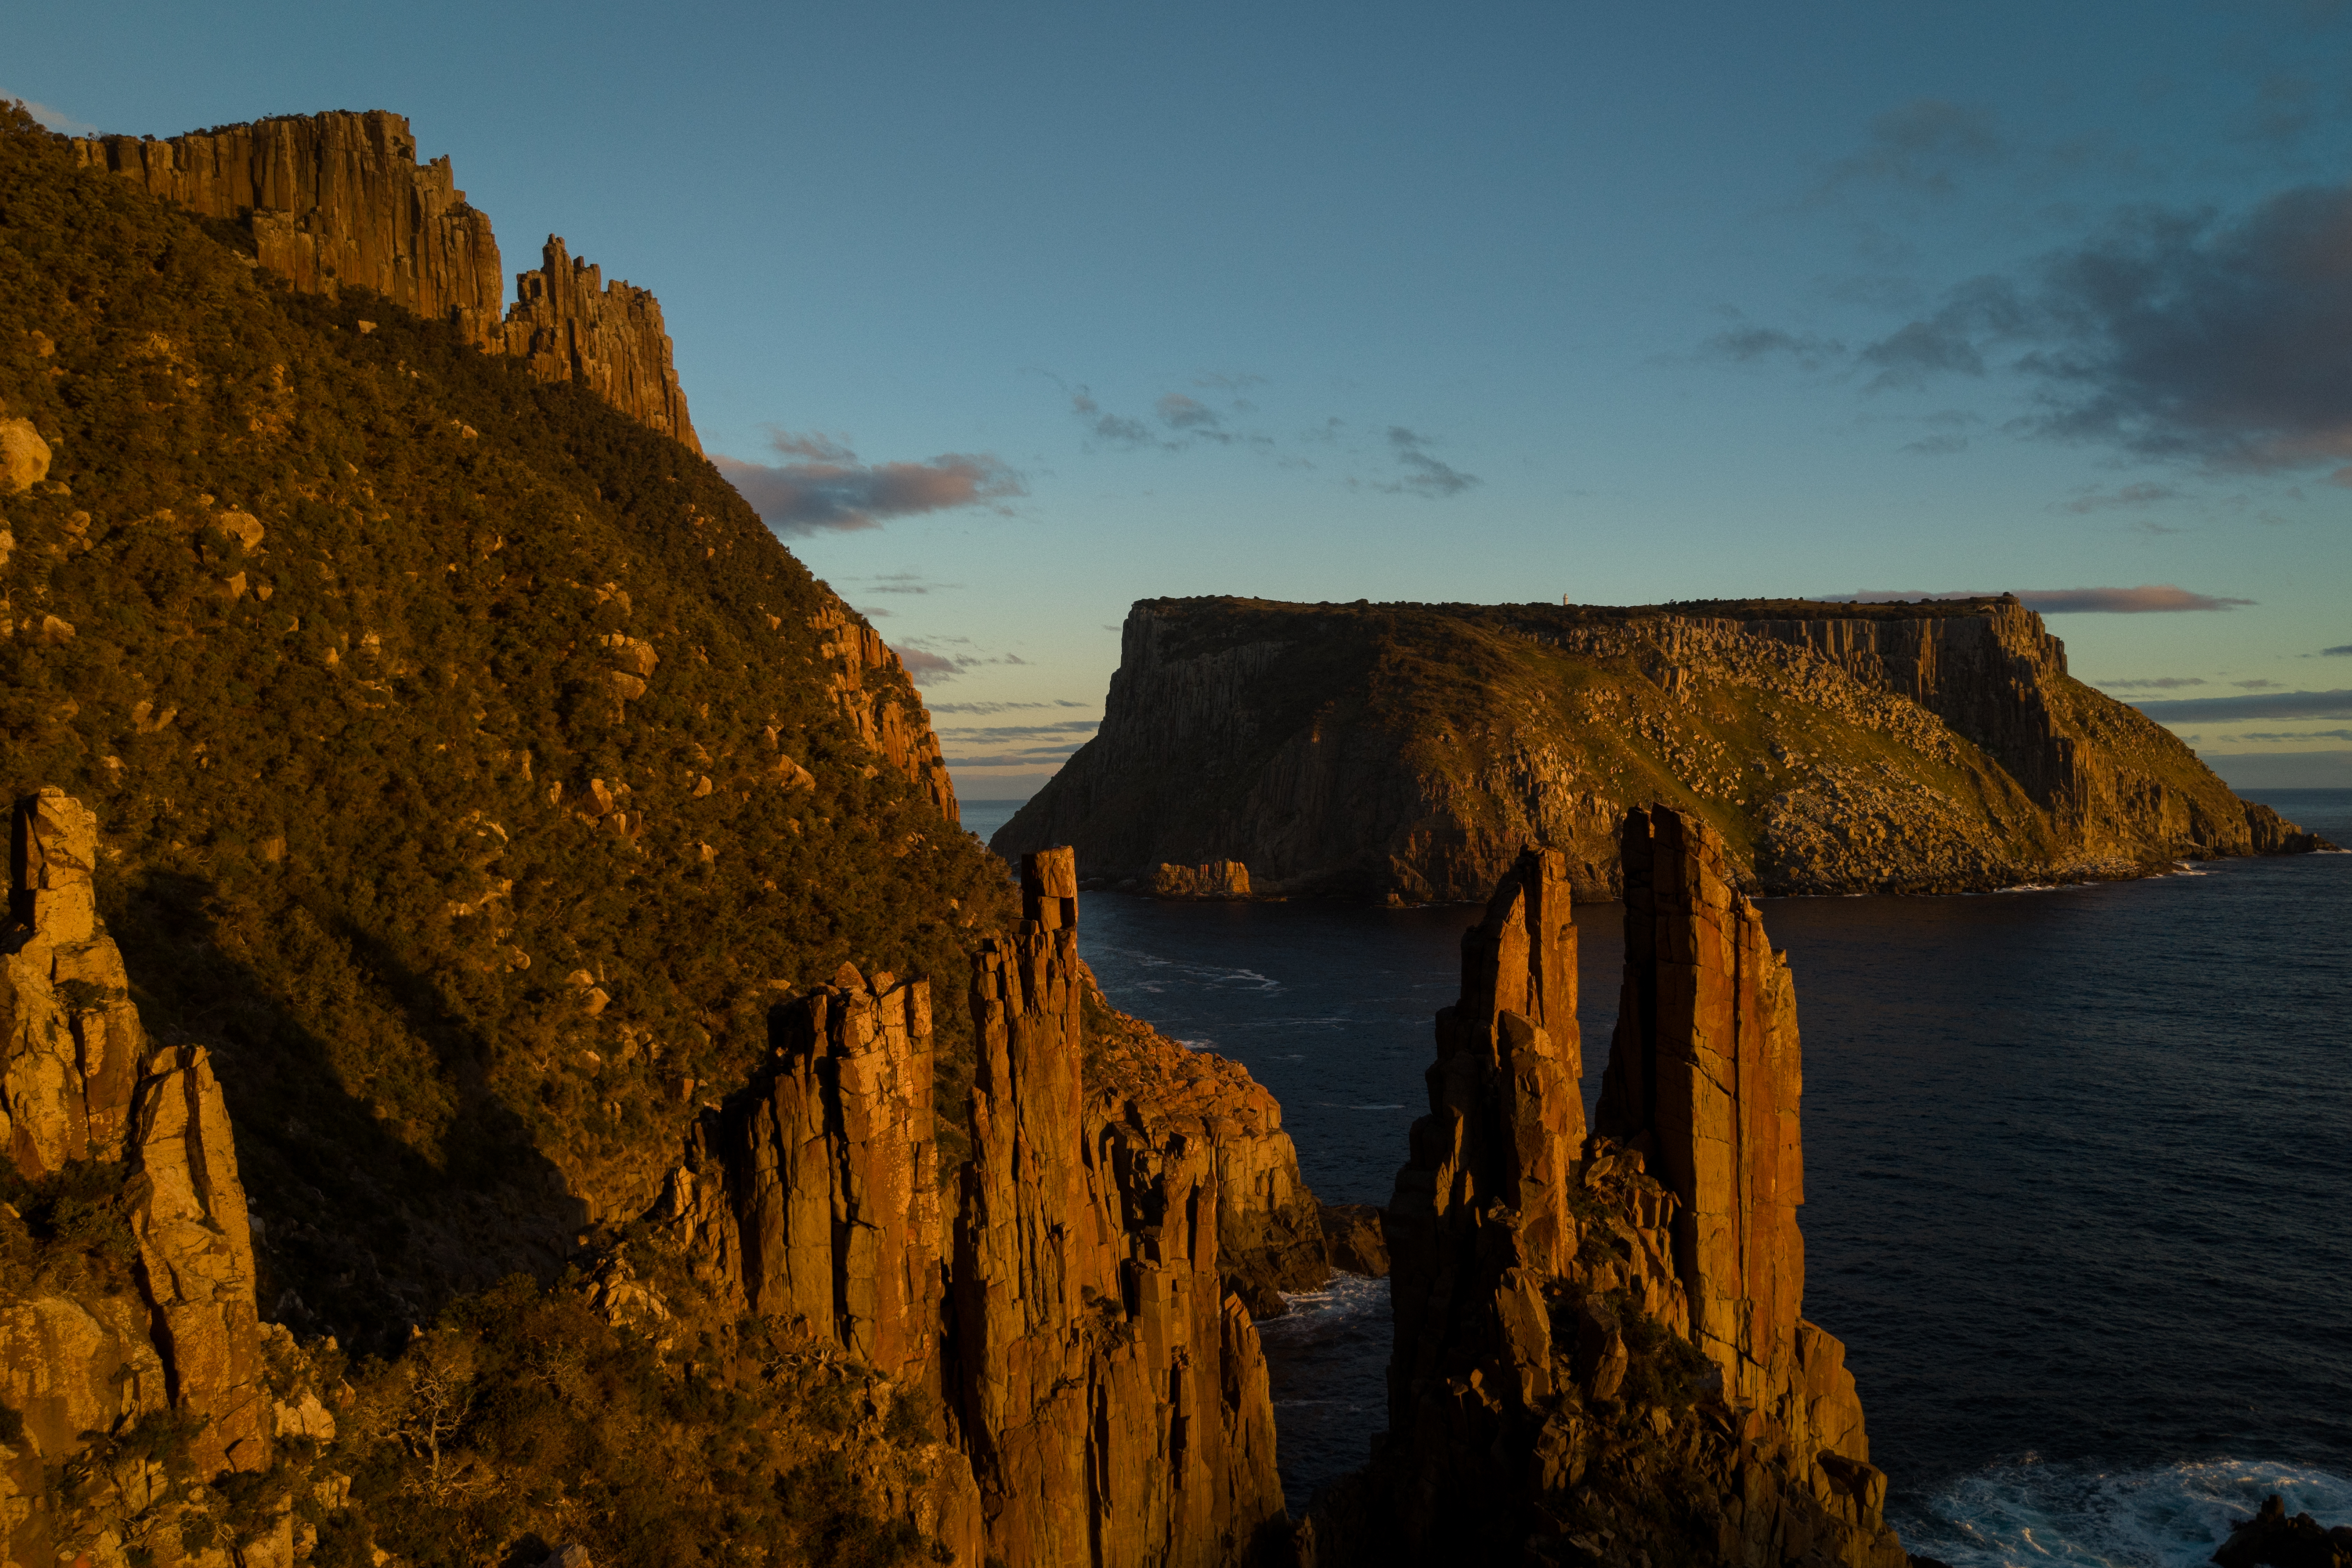
Image 8 - The Trident + exit route
There was some more sea caves around the corner and then I finished off with one final 100m+ swim. The exit route was the big question mark on the day. The prominent ridge line in Image 8 is the exit route. It's approximately 100-150m east of the Trident. The only part I found a tad sketchy was when I transitioned from dolerite to shrub as the dirt and rock was very unreliable in places. I was bloody glad to have long tights on for the bush bash up to the track! I popped out about 50m east of the helicopter pad. I had a bit of time up my sleeve so I added in Cape Hauy on the way back. I realised I might just make it to the pub in time so I put the foot down for the final 15km. Made it to the Fox & Hound for an overpriced parmi with 15mins to spare.
All in all it was an adventure of a lifetime. Shoutout to you legends at the.sarvo and Simon Bischoff for providing some pivotal pieces of the puzzle to help make it happen.

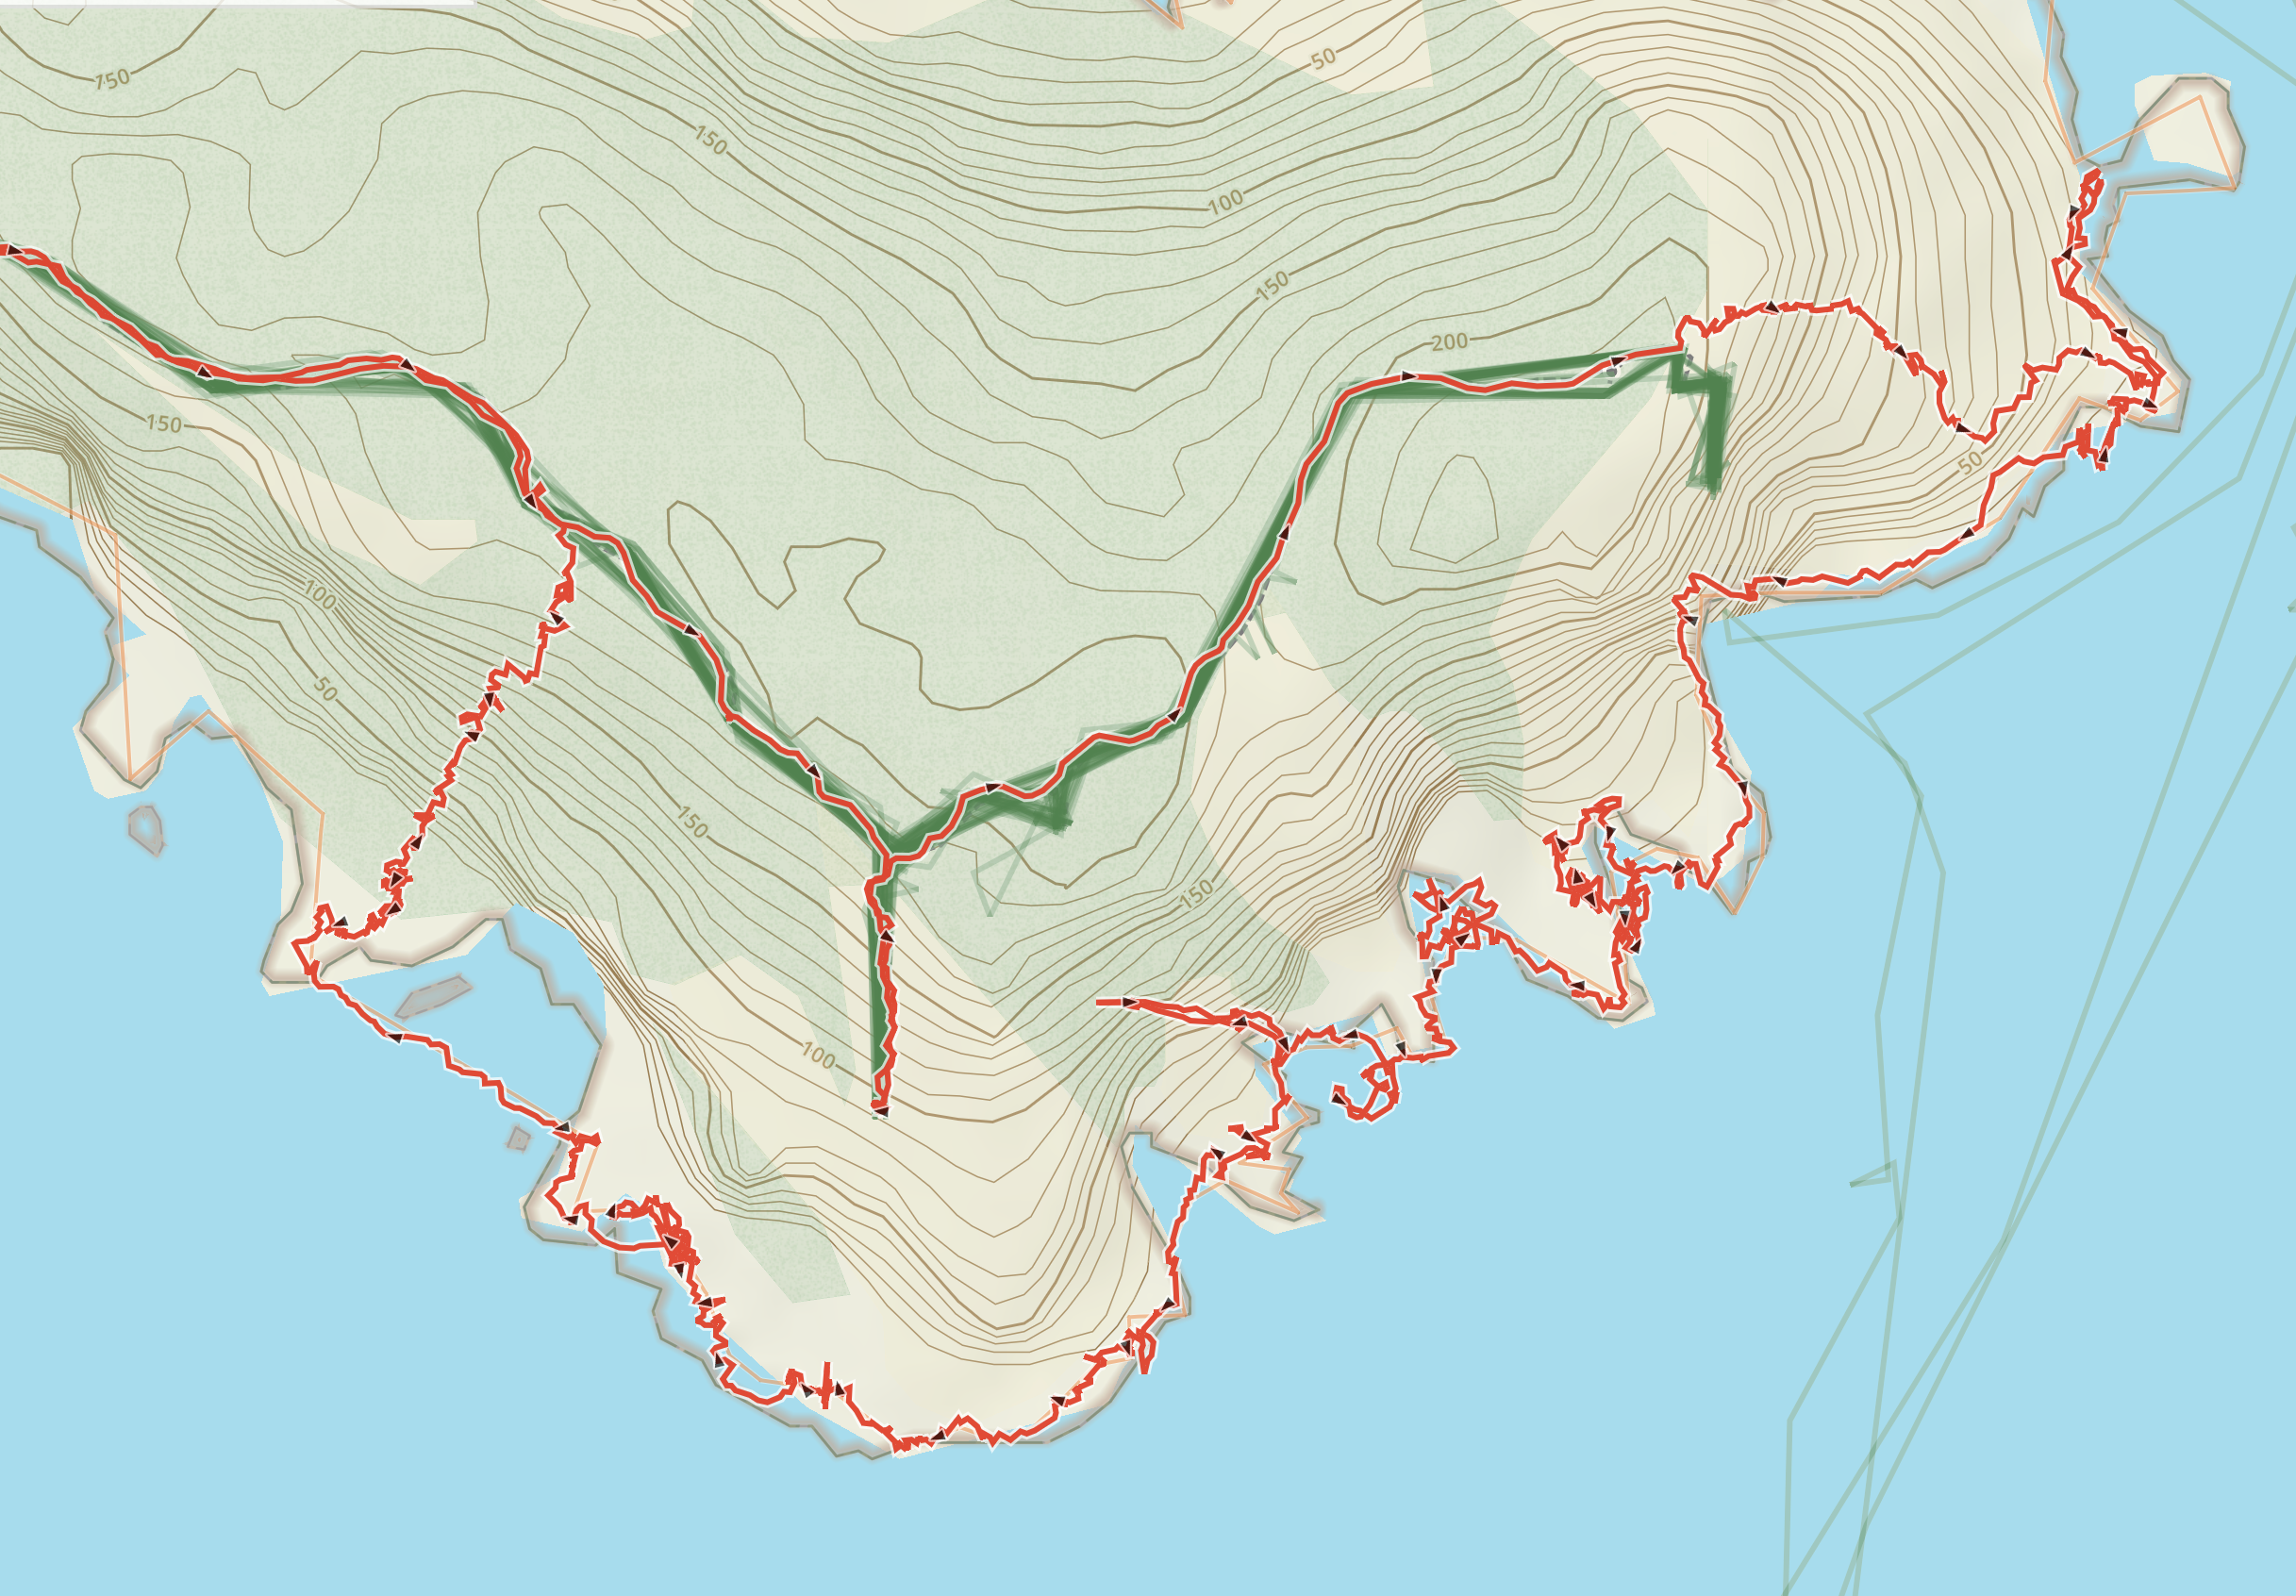
Image 9 & 10 - Gaia stats